Designing a Safe and Accessible Bathroom for Individuals with Mobility Issues
Creating a bathroom that is both safe and accessible for individuals with mobility issues is essential to promote independence and reduce the risk of injury. For those who use wheelchairs, walkers, or have other mobility challenges, the bathroom can be one of the most dangerous places in the home due to slippery surfaces and confined spaces. In this detailed guide, we will explore everything you need to know about designing an accessible bathroom, from layout and fixtures to safety features and best practices.
Why Accessible Bathroom Design Matters
For seniors, individuals with disabilities, or those recovering from surgery, everyday bathroom tasks like showering or using the toilet can present significant challenges. According to the Centers for Disease Control and Prevention (CDC), falls are the leading cause of injury among older adults, and many of these accidents happen in the bathroom. Slippery floors, hard-to-reach fixtures, and inadequate support can make even the simplest activities risky. Designing an accessible bathroom helps minimize these risks, ensuring users can perform tasks safely while maintaining their dignity and independence.
Key Considerations for Bathroom Accessibility:
- User Needs: What mobility aids (e.g., wheelchairs, walkers) will the person use?
- ADA Compliance: Following the Americans with Disabilities Act (ADA) guidelines ensures safety and functionality.
- Safety Features: Anti-slip materials, grab bars, and proper lighting are essential for minimizing hazards.
1. Optimizing the Layout for Accessibility
A. Widening Doorways for Wheelchair Access
One of the first steps in creating an accessible bathroom is widening the doorway. ADA standards recommend a minimum door width of 36 inches to accommodate wheelchairs and walkers. In addition to the door width, consider installing sliding doors or pocket doors to save space and eliminate the need to open a traditional swing door.
B. Ensuring Ample Space for Maneuverability
A person using a wheelchair needs ample space to turn around comfortably. The ADA recommends a 60-inch turning radius (5 feet in diameter) to allow for a full 360-degree turn. Ensure this space is clear of obstacles around the sink, toilet, and shower.
2. Selecting Accessible Bathroom Fixtures
A. ADA-Compliant Toilets
A standard toilet is typically too low for individuals with mobility challenges. ADA-compliant toilets, also known as comfort-height toilets, are generally 17 to 19 inches high from floor to seat, which is ideal for reducing strain when sitting or standing. The toilet should be placed at least 16-18 inches from adjacent walls to allow sufficient space for maneuverability.
B. Accessible Sink Designs
For wheelchair users, a wall-mounted sink is the best option, as it allows them to roll their chair underneath. According to ADA guidelines, the sink should be no higher than 34 inches from the floor, with at least 27 inches of knee clearance beneath it. Make sure faucets are easy to use—lever or touchless faucets are preferable for individuals with limited hand dexterity.
C. Lever-Style Faucets
Traditional round knobs can be difficult for individuals with arthritis or limited hand strength to operate. Lever-style faucets, which can be turned on or off with a simple push or pull, are an excellent alternative. For even greater ease, consider motion-activated faucets, which require no manual effort at all.
3. Accessible Shower and Bathing Solutions
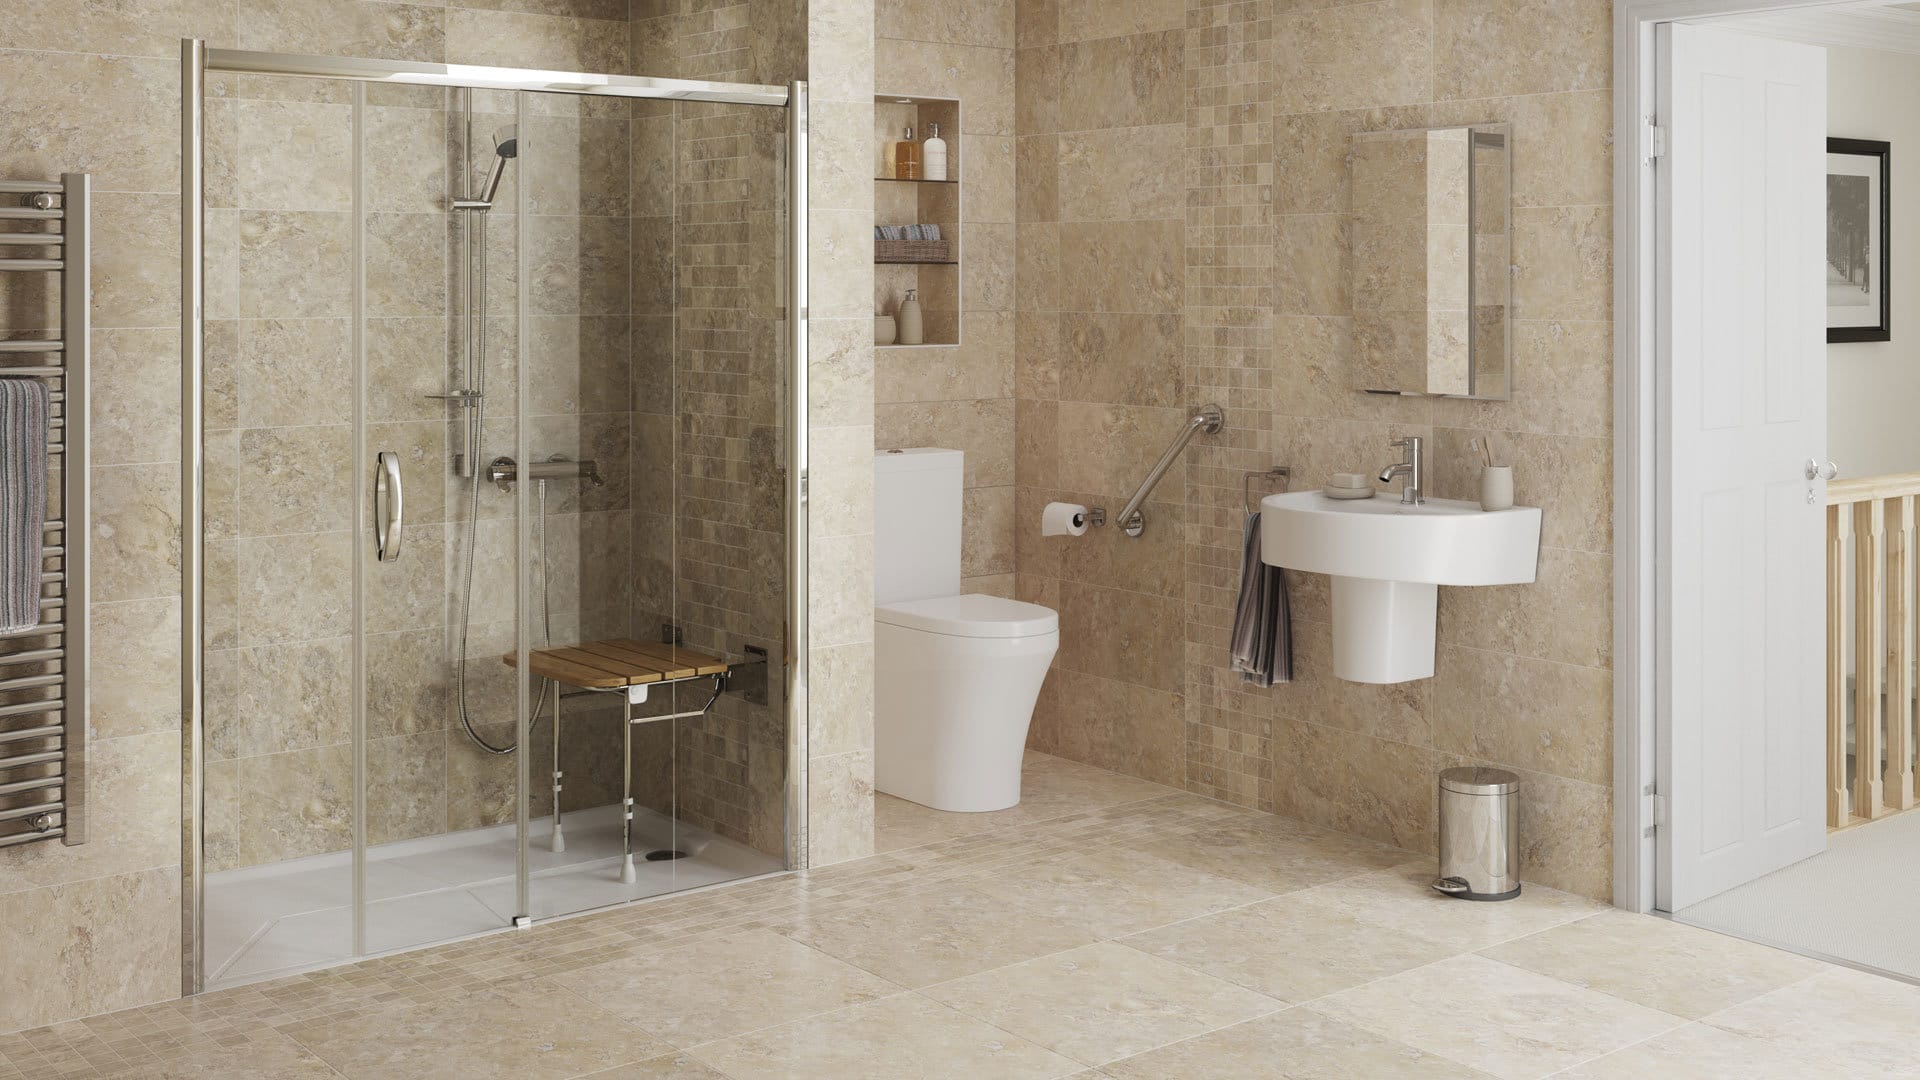
A. Curbless Walk-In Showers
A curbless walk-in shower eliminates the need to step over a threshold, which is essential for wheelchair or walker users. These showers should have a clear opening of at least 36 inches. For wheelchair accessibility, a shower size of 60x60 inches is ideal.
Additional features to include are:
- Shower benches: A fold-down seat provides a stable place to sit while bathing.
- Handheld showerheads: Install a handheld showerhead on an adjustable bar for users to adjust it to their height. It should be easily reachable from both a seated and standing position.
- Anti-scald devices: Install temperature controls to prevent burns from sudden temperature changes in the water.
B. Walk-In Tubs
For those who prefer a bath, a walk-in tub is a safer alternative to traditional bathtubs. These tubs have a low threshold and a built-in seat, allowing users to safely enter and exit without having to step over a high ledge. Some models include additional safety features like grab bars and anti-slip flooring inside the tub.
C. Proper Grab Bar Installation
In both the shower and bath areas, the installation of grab bars is essential. ADA guidelines recommend placing grab bars 33 to 36 inches above the floor, positioned both vertically and horizontally for maximum support. Bars should be installed into wall studs to ensure stability and should be about 1.25 to 1.5 inches in diameter for easy gripping.
4. Non-Slip Flooring Solutions
A. Choosing the Right Flooring
One of the most critical aspects of designing a safe bathroom is choosing non-slip flooring. Materials like textured ceramic tiles, rubber flooring, or vinyl flooring are ideal for reducing the risk of falls. Avoid glossy or polished tiles, which become extremely slippery when wet.
B. Shower Flooring
In the shower, use textured stone or slip-resistant tiles to ensure traction even when the floor is wet. The floor should slope slightly towards the drain to prevent water from pooling and creating a slipping hazard.
C. Heated Flooring
Installing radiant heated floors can further enhance safety by reducing the moisture that collects on the floor, ensuring the surface dries faster after a shower or bath. Heated floors also provide comfort, especially for individuals sensitive to cold.
5. Installing Grab Bars and Handrails
A. Strategic Grab Bar Placement
Grab bars should be installed near the toilet, shower, and along walls where individuals may need additional support. Recommended placements include:
- Beside the toilet: A grab bar should be installed horizontally or diagonally to assist with sitting or standing.
- Inside and outside the shower: Bars at the shower entrance and within the shower itself can help individuals maintain balance.
- Near the sink: A small grab bar can offer support when leaning over to wash hands or face.
B. Choosing the Right Grab Bar Materials
Grab bars should be made of durable materials like stainless steel or powder-coated aluminum to prevent rust and ensure long-lasting performance. They should also have a non-slip finish for a secure grip, even when wet.
6. Lighting for Accessibility and Safety
A. Bright, Even Lighting
Bathrooms should be equipped with bright, even lighting to improve visibility. Place light fixtures above the sink, near the shower, and around the toilet to ensure every area is well-lit. LED lighting is a great option as it provides bright illumination while consuming less energy.
B. Motion-Sensor Lighting
For convenience and safety, especially at night, install motion-sensor lights that automatically turn on when someone enters the bathroom. This eliminates the need to fumble for light switches in the dark.
C. Nightlights
Low-level nightlights along the floor or around the toilet provide gentle illumination, allowing individuals to safely navigate the bathroom during nighttime visits.
7. Accessible Storage Solutions
A. Easy-to-Reach Storage
To avoid the need to bend or stretch, install pull-out drawers or open shelves at waist height or lower. Avoid deep cabinets, which can be difficult to access for those with limited mobility.
B. Shower Storage
In the shower, install wall-mounted caddies or shelving that are easy to reach while seated. Ensure that essential items, such as soap, shampoo, and towels, are stored within arm’s reach to prevent overreaching.
Conclusion
Designing a safe and accessible bathroom for individuals with mobility issues requires thoughtful planning, careful attention to detail, and a strong focus on safety. From selecting ADA-compliant fixtures to installing non-slip flooring and grab bars, every aspect of the bathroom should be designed with accessibility in mind. By following these guidelines, you can create a space that enhances both safety and independence.
For more detailed design assistance, consider working with an occupational therapist or a Certified Aging-in-Place Specialist (CAPS) to ensure that your bathroom design meets the highest standards for accessibility and safety.
FAQs
1. What are the ADA requirements for accessible bathrooms?
ADA-compliant bathrooms must have doorways that are at least 36 inches wide, a turning radius of 5 feet for wheelchair users, and accessible fixtures like toilets and sinks set at appropriate heights.
2. What flooring is recommended for accessible bathrooms?
Non-slip vinyl, textured ceramic tiles, or rubber flooring are the best choices for an accessible bathroom, as they provide the necessary traction to prevent falls.
3. Where should grab bars be installed in a bathroom?
Grab bars should be installed beside the toilet, inside and outside the shower, and near the sink. They should be positioned 33 to 36 inches above the floor for optimal support.
References:
- Americans with Disabilities Act (ADA) Standards for Accessible Design.
- Centers for Disease Control and Prevention (CDC), Fall Prevention in Older Adults.
- National Floor Safety Institute (NFSI), Slip Resistance Standards for Flooring.
Recent Posts
-
How Accurate Are Home Blood Pressure Monitors?
Monitoring blood pressure at home is a key step in managing hypertension, tracking cardiovascul …Feb 19th 2025 -
Can Your Smartwatch Accurately Measure Blood Pressure?
Smartwatches have evolved from simple step counters to advanced health monitoring devices, offe …Feb 19th 2025 -
Manual vs. Electric Hospital Beds: Which One Should You Choose?
When selecting a hospital bed for home care, rehabilitation, or medical facilities, one of the …Feb 19th 2025